MangaDock
T4 Labs · ทีม
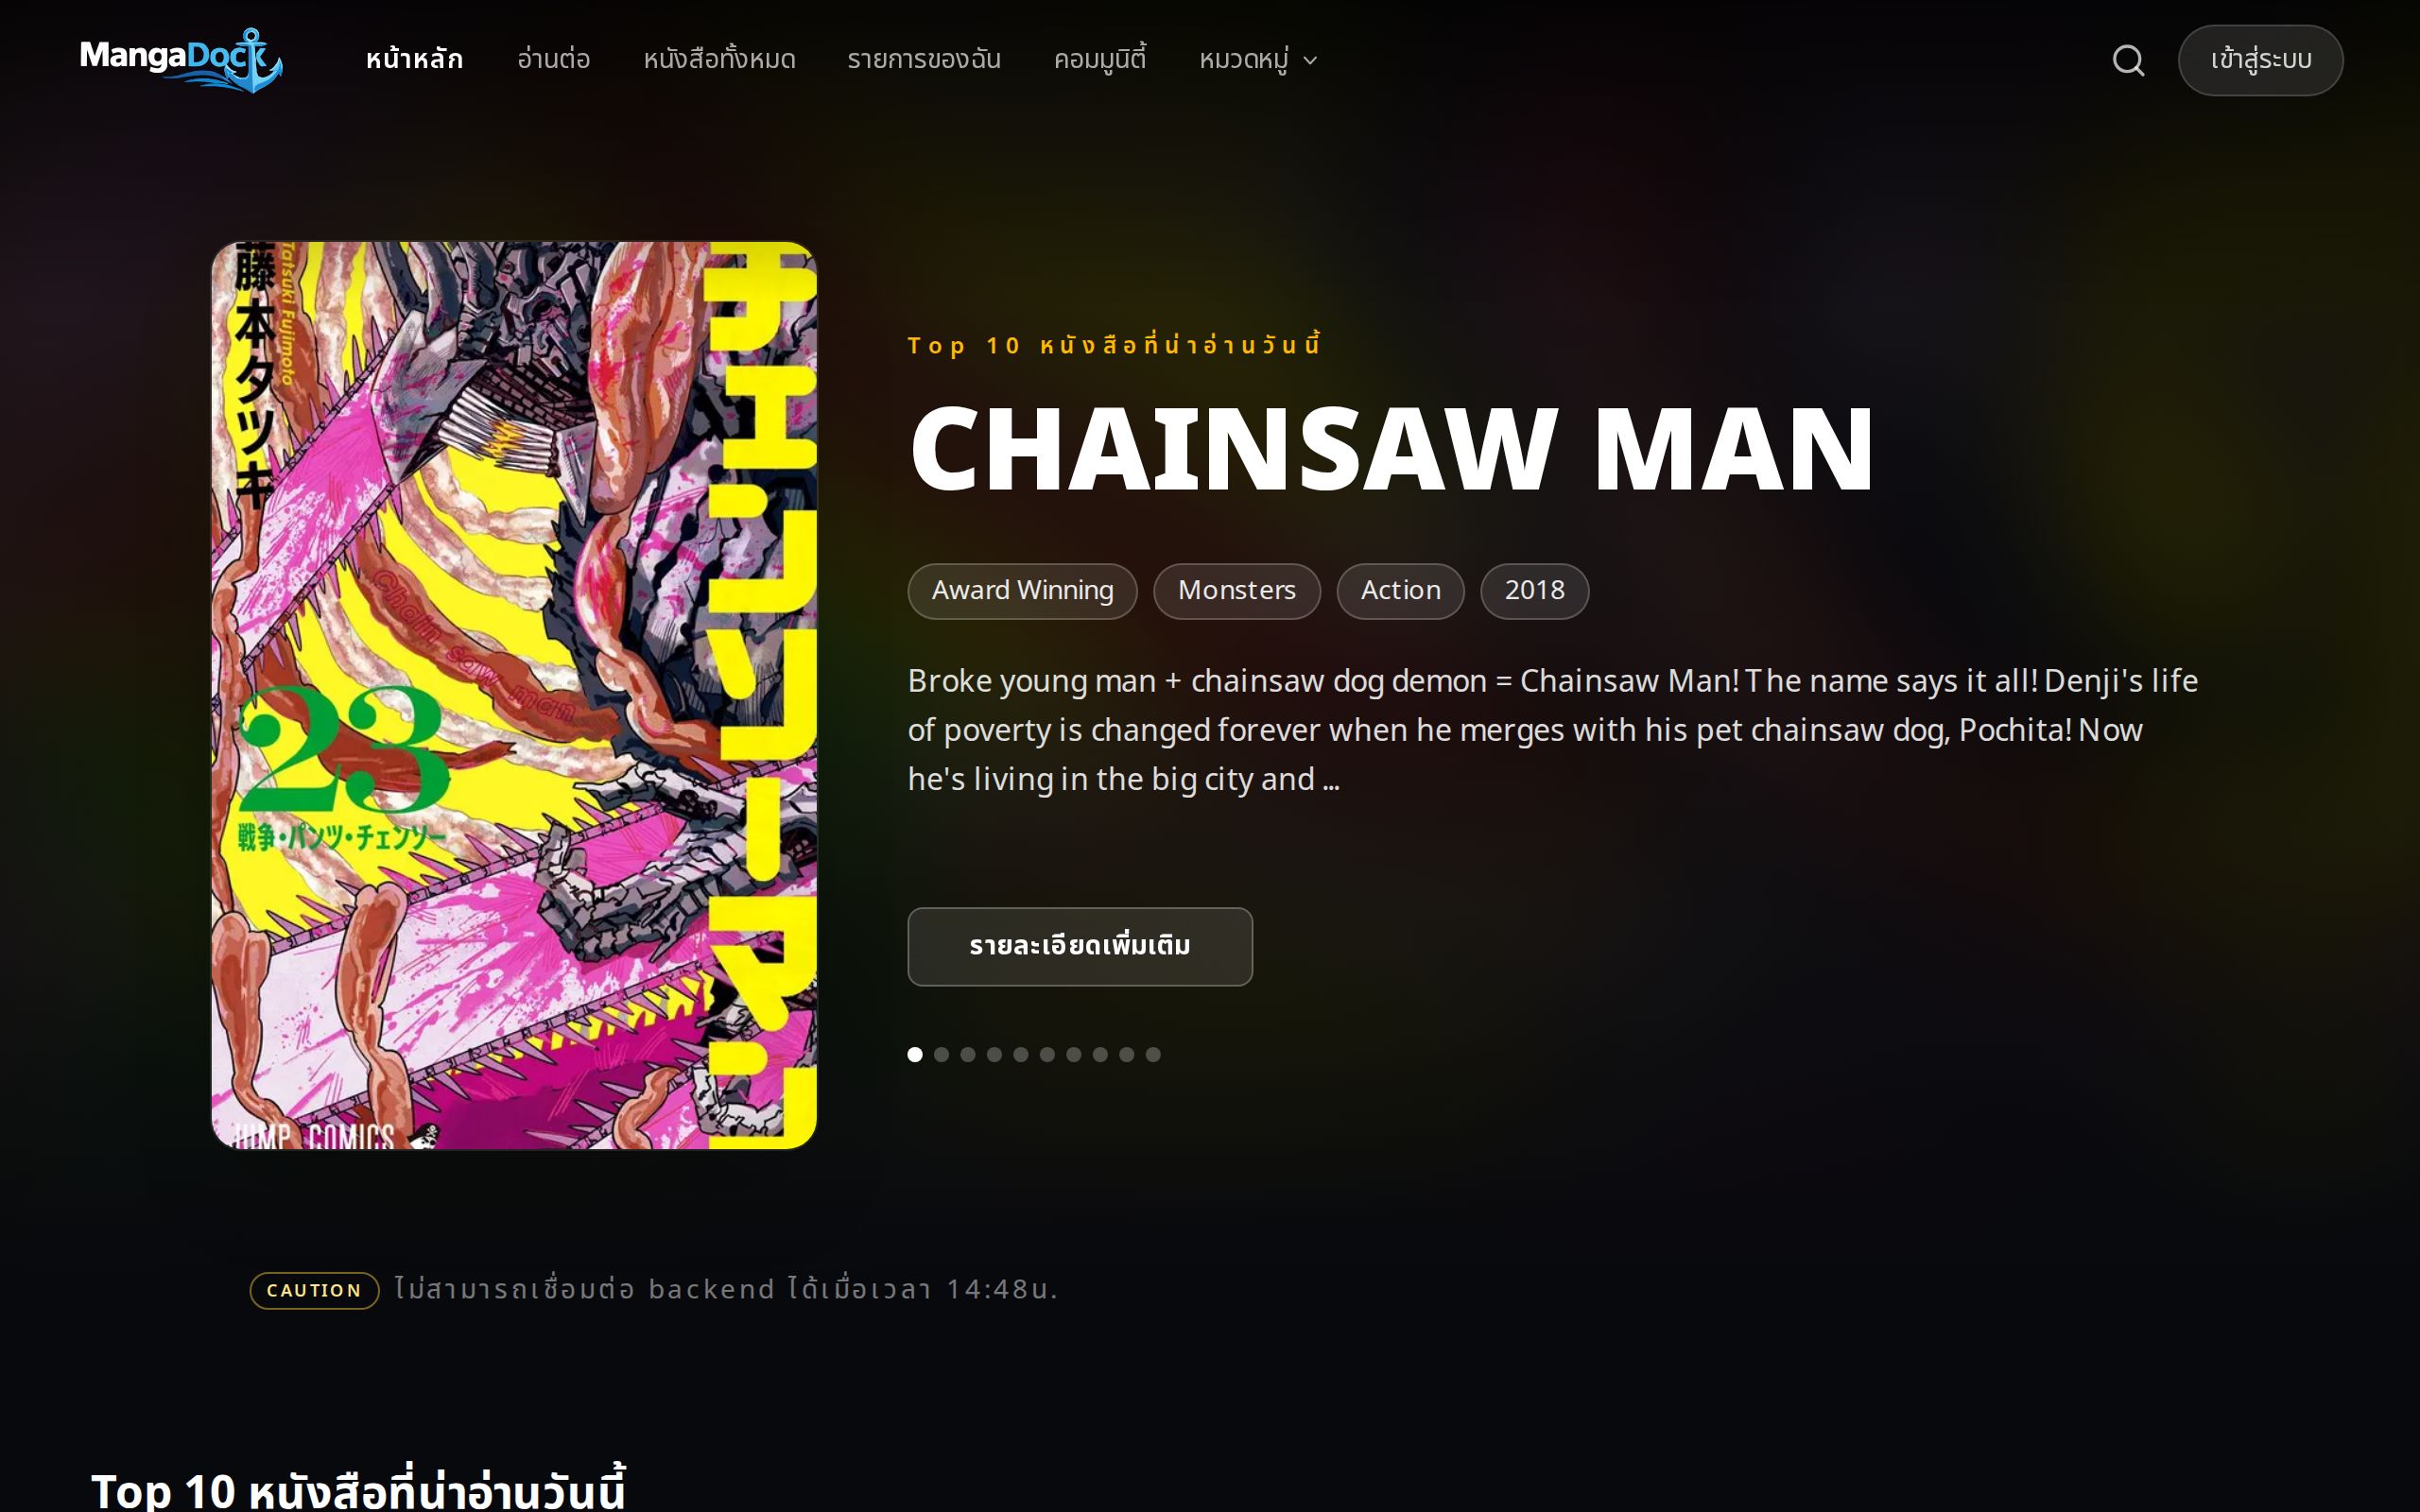
แพลตฟอร์มอ่าน/แปลมังงะด้วย AI — OCR ข้อความในภาพ แปล และประกอบกลับแบบอัตโนมัติ
สรุปโปรเจกต์
แพลตฟอร์มอ่าน/แปลมังงะด้วย AI — OCR ข้อความในภาพ แปล และประกอบกลับแบบอัตโนมัติ
- หมวดหมู่
- AI Product
- ปี
- 2025
- ผู้ดูแลผลงาน
- T4 Labs
รายละเอียดเพิ่มเติมรายละเอียดเชิงลึก
MangaDock เป็นแพลตฟอร์มอ่านมังงะพร้อมระบบแปลภาพด้วย Machine Learning ประกอบด้วย 3 services: Frontend (Next.js), Backend (Nest.js/Bun orchestration + Supabase), และ MIT — Manga Image Translator ไมโครเซอร์วิส Python สำหรับ GPU inference (ตรวจจับกล่องข้อความ OCR แล้วแปลด้วย LLM ผ่าน OpenAI-compatible gateway). มี Redis สำหรับคิวงาน และ Docs portal ที่จำลอง data flow ของทั้งระบบแบบ interactive. สถาปัตยกรรมแบบ microservices รองรับงานแปลจำนวนมากและ trace ได้ตั้งแต่ browser จนถึง GPU.
เอกสารต้นฉบับรายละเอียด (README)
MangaDock
MangaDock is split into 3 main parts:
- Frontend: Next.js web app
- Backend: NestJS API and orchestration layer
- MIT: Manga Image Translator microservice for image translation
The repository also includes Mobile/, a React Native WebView shell for the existing web app. It keeps the web UI as the main experience while handling Google/Facebook OAuth through the native auth session, which avoids WebView popup/login limitations.
The root of this repository contains a docker-compose.yml for running the Redis instance used by the backend.
Services and Default Ports
| Service | Path | Default URL |
|---|---|---|
| Frontend | Frontend/ | http://localhost:4000 |
| Backend | Backend/ | http://localhost:4001 |
| MIT | MIT/ | http://localhost:5003 |
| Mobile | Mobile/ | Expo/Android development build |
| Redis | root docker-compose.yml | localhost:6379 |
Prerequisites
- Node.js and bun for Frontend and Backend
- Python environment for MIT
- Docker Desktop or Docker Engine if you want to run Redis or MIT via Docker
- Supabase project (URL + Service Role Key) for the backend
Recommended Startup Order
- Start Redis
- Start MIT
- Start Backend
- Start Frontend
Quick Start
1. Start Redis
From the root of the repository:
docker compose up -d
The compose file at root is for Redis only.
2. Setup and Start MIT
Go to the MIT/ folder.
The easiest way to run on Windows locally:
run-server.bat
MIT will open at http://localhost:5003
Verify with:
curl http://localhost:5003/health
For more details see MIT/README.md
3. Setup and Start Backend
Go to the Backend/ folder.
Install dependencies:
bun install
Create .env from template:
cp .env.example .env
Then fill in at least the following values:
# Gemini API (required for translation)
GEMINI_API_KEY=your-gemini-api-key

# Google Books API (required for book data)
GOOGLE_BOOKS_API_KEY=your-google-books-api-key

PORT=4001
FRONTEND_ORIGIN=http://localhost:4000
MANGA_TRANSLATOR_URL=http://localhost:5003
REDIS_HOST=localhost
REDIS_PORT=6379

# Supabase (Auth + Database) — see Supabase Dashboard → Project Settings → API
SUPABASE_URL=https://your-project-ref.supabase.co
SUPABASE_SERVICE_ROLE_KEY=your-supabase-service-role-key
Run the backend:
bun run start:dev
For more details see Backend/README.md
Debug tip: when translations replay a stale result, run
npm run cache:resetinBackend/to wipe the translated-patch caches (Redis + L3 disk +uploads/patches), then restart the backend. See Backend/README.md.
4. Setup and Start Frontend
Go to the Frontend/ folder.
Install dependencies:
bun install
Create .env from template:
cp .env.example .env
Set the backend URL:
NEXT_PUBLIC_API_BASE_URL=http://localhost:4001
Run the frontend:
bun run dev
Frontend runs at http://localhost:4000
For more details see Frontend/README.md
5. Setup and Start Mobile
Go to the Mobile/ folder.
Install dependencies:
npm install
Create .env from template and point it at the running frontend:
cp .env.example .env
For Android emulator use:
EXPO_PUBLIC_WEB_URL=http://10.0.2.2:4000
For a physical device, use your LAN IP instead of localhost.
Run the Android development build:
npm run android
For OAuth, add mangadock://auth/callback to Supabase Auth redirect URLs. For more details see Mobile/README.md.
Verification Checklist
After starting all services, verify at minimum:
- Frontend accessible at
http://localhost:4000 - Backend responding at
http://localhost:4001 - MIT health check passes at
http://localhost:5003/health - Backend connected to Redis at
localhost:6379 - Backend connected to Supabase (verify
SUPABASE_URLandSUPABASE_SERVICE_ROLE_KEY) - Mobile development build opens the frontend WebView and native OAuth returns to
mangadock://auth/callback
Continuous Integration
GitHub Actions runs the unit suites on every PR from one workflow, .github/workflows/ci.yml, whose jobs are path-filtered and which ends in a single required gate check. ADR 020 records the original decision (partly superseded, see its status line); DONE.md ("CI gates made real") records what replaced it.
| Job | What it runs |
|---|---|
backend (jest) | bun install + jest on Node 22 + a Redis service (jest.ci.config.js) |
frontend (bun test) | bun test |
mobile (typecheck) | mobile typecheck |
pytest (logic gate, torch-free) | MIT logic suite without torch — blocking; heavy modules are skipped by MIT/test/conftest.py (#359) |
pytest (heavy ML, report-only) | MIT suites that need the ML stack — continue-on-error, never blocks |
scripts (node --test) | repo scripts |
gate | the one required check: fails if any blocking job above failed |
Run Backend tests locally on Node 22 (Jest 30 does not support Node 26):
cd Backend
npx jest -c jest.ci.config.js --runInBand   # the exact CI command
jest.ci.config.js inherits the jest block from package.json and adds a skip-list of documented pre-existing failures (#358) so the gate is green; remove an entry as its suite is fixed.
MangaDock
MangaDock เป็นระบบที่แยกออกเป็น 3 ส่วนหลัก:
- Frontend: Next.js web app
- Backend: NestJS API และ orchestration layer
- MIT: Manga Image Translator microservice สำหรับงานแปลภาพ
Repository นี้มี Mobile/ เพิ่มเติม เป็น React Native WebView shell สำหรับหุ้ม web app เดิม โดยยังใช้ UI เว็บเป็นหลัก แต่ให้ Google/Facebook OAuth ทำงานผ่าน native auth session เพื่อเลี่ยงข้อจำกัด popup/login ใน WebView
ที่ root ของ repository นี้มี docker-compose.yml สำหรับรัน Redis ที่ backend ใช้งานเป็น cache
Services และ Port เริ่มต้น
| Service | Path | URL เริ่มต้น |
|---|---|---|
| Frontend | Frontend/ | http://localhost:4000 |
| Backend | Backend/ | http://localhost:4001 |
| MIT | MIT/ | http://localhost:5003 |
| Mobile | Mobile/ | Expo/Android development build |
| Redis | root docker-compose.yml | localhost:6379 |
ข้อกำหนดเบื้องต้น
- Node.js และ bun สำหรับ Frontend และ Backend
- Python environment สำหรับ MIT
- Docker Desktop หรือ Docker Engine ถ้าต้องการรัน Redis หรือ MIT ผ่าน Docker
- Supabase project (URL + Service Role Key) สำหรับ backend
ลำดับการเริ่มต้นที่แนะนำ
- รัน Redis
- รัน MIT
- รัน Backend
- รัน Frontend
Quick Start
1. เริ่ม Redis
ที่ root ของ repository:
docker compose up -d
ไฟล์ compose ที่ root ใช้สำหรับ Redis เท่านั้น
2. ตั้งค่าและเริ่ม MIT
เข้าโฟลเดอร์ MIT/
ถ้ารันบน Windows แบบ local ที่ง่ายที่สุด:
run-server.bat
MIT จะเปิดที่ http://localhost:5003
ตรวจสอบได้ด้วย:
curl http://localhost:5003/health
รายละเอียดเพิ่มเติมดู MIT/README.md
3. ตั้งค่าและเริ่ม Backend
เข้าโฟลเดอร์ Backend/
ติดตั้ง dependencies:
bun install
สร้าง .env จาก template:
cp .env.example .env
แล้วกรอกค่าหลักอย่างน้อยดังนี้:
# Gemini API (required for translation)
GEMINI_API_KEY=your-gemini-api-key

# Google Books API (required for book data)
GOOGLE_BOOKS_API_KEY=your-google-books-api-key

PORT=4001
FRONTEND_ORIGIN=http://localhost:4000
MANGA_TRANSLATOR_URL=http://localhost:5003
REDIS_HOST=localhost
REDIS_PORT=6379

# Supabase (Auth + Database) — ดูจาก Supabase Dashboard → Project Settings → API
SUPABASE_URL=https://your-project-ref.supabase.co
SUPABASE_SERVICE_ROLE_KEY=your-supabase-service-role-key
รัน backend:
bun run start:dev
รายละเอียดเพิ่มเติมดู Backend/README.md
Debug tip: ถ้าการแปล replay ผลเก่า ให้รัน
npm run cache:resetในBackend/เพื่อล้าง translated-patch cache (Redis + L3 disk +uploads/patches) แล้ว restart backend ดู Backend/README.md
4. ตั้งค่าและเริ่ม Frontend
เข้าโฟลเดอร์ Frontend/
ติดตั้ง dependencies:
bun install
สร้างไฟล์ .env จาก template:
cp .env.example .env
ตั้งค่า backend URL:
NEXT_PUBLIC_API_BASE_URL=http://localhost:4001
รัน frontend:
bun run dev
Frontend ของ repo นี้รันที่ http://localhost:4000
รายละเอียดเพิ่มเติมดู Frontend/README.md
5. ตั้งค่าและเริ่ม Mobile
เข้าโฟลเดอร์ Mobile/
ติดตั้ง dependencies:
npm install
สร้าง .env จาก template แล้วชี้ไปที่ frontend ที่กำลังรัน:
cp .env.example .env
สำหรับ Android emulator ใช้:
EXPO_PUBLIC_WEB_URL=http://10.0.2.2:4000
สำหรับเครื่องจริง ให้ใช้ LAN IP แทน localhost
รัน Android development build:
npm run android
สำหรับ OAuth ให้เพิ่ม mangadock://auth/callback ใน Supabase Auth redirect URLs รายละเอียดเพิ่มเติมดู Mobile/README.md
Checklist ตรวจสอบ
หลังจาก start ครบทุก service แล้ว ควรตรวจสอบขั้นต่ำดังนี้:
- Frontend เปิดได้ที่
http://localhost:4000 - Backend ตอบสนองที่
http://localhost:4001 - MIT health check ผ่านที่
http://localhost:5003/health - Backend เชื่อม Redis ได้ที่
localhost:6379 - Backend เชื่อม Supabase ได้ (ตรวจสอบ
SUPABASE_URLและSUPABASE_SERVICE_ROLE_KEY) - Mobile development build เปิด frontend WebView ได้ และ native OAuth กลับมาที่
mangadock://auth/callback
ถาม AI เกี่ยวกับ MangaDock
ถามแนวทาง เทคโนโลยี หรือความเหมาะสมของโปรเจกต์นี้กับไอเดียของคุณ
กำลังโหลดแชท / Loading chat…


